Omnivox guide

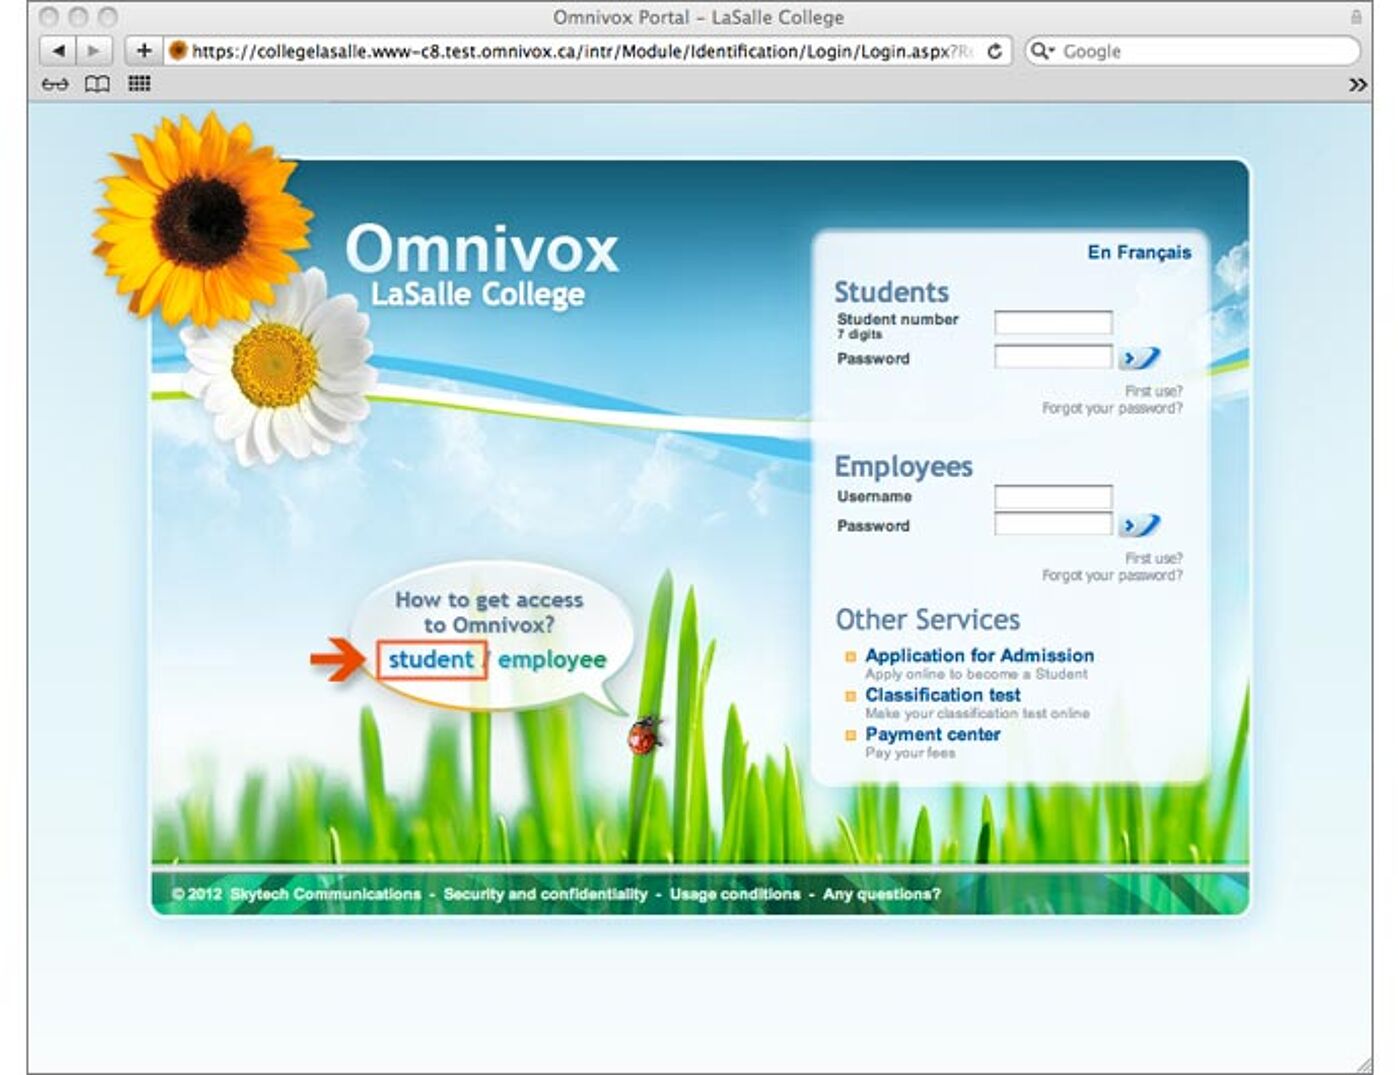
Step 1 : go to Omnivox and choose How to get access to Omnivox;

A screenshot of LaSalle College's Omnivox portal login page, featuring options for students and employees to enter credentials.

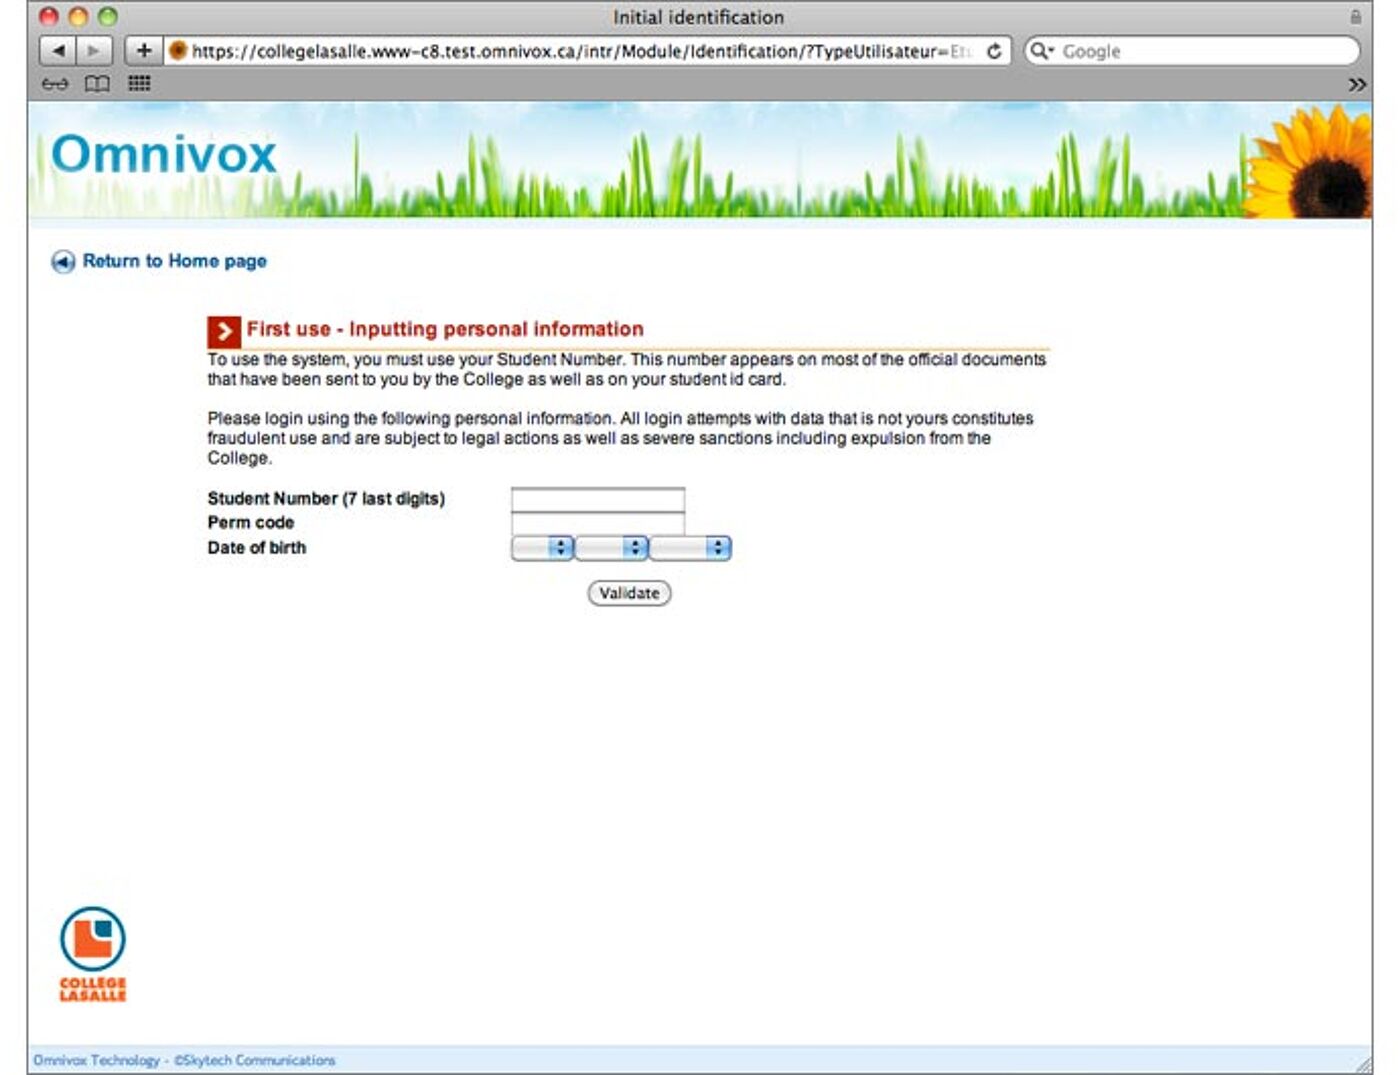
Step 2 : login by entering the last 7 digits of your student number, the permanent code and date of birth;

Screenshot of a college's login portal, guiding users on initial identification by entering their student number and personal information.

Step 3 : select 3 questions and provide answers;

A screenshot of a password recovery setup page with fields for three security questions.

Step 4 : choose your password;

A screenshot of the Omnivox website, displaying the password selection page, with requirements for creating a new password outlined.

Step 5 : click on Continue;

Screenshot of an Omnivox portal access confirmation page with instructions for first-time login.

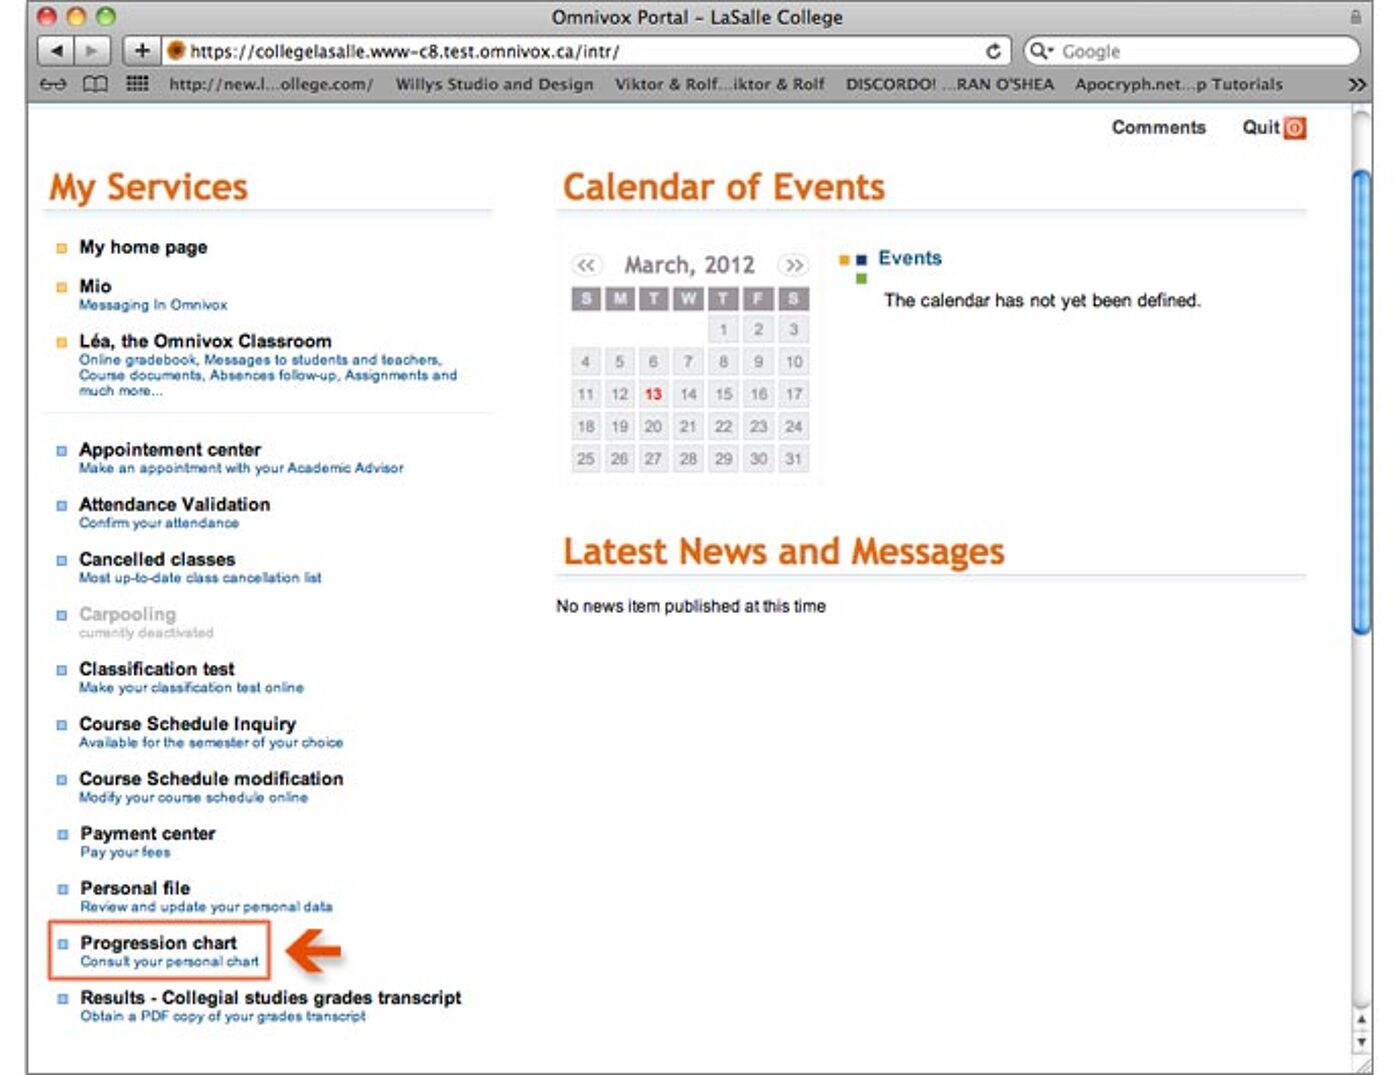
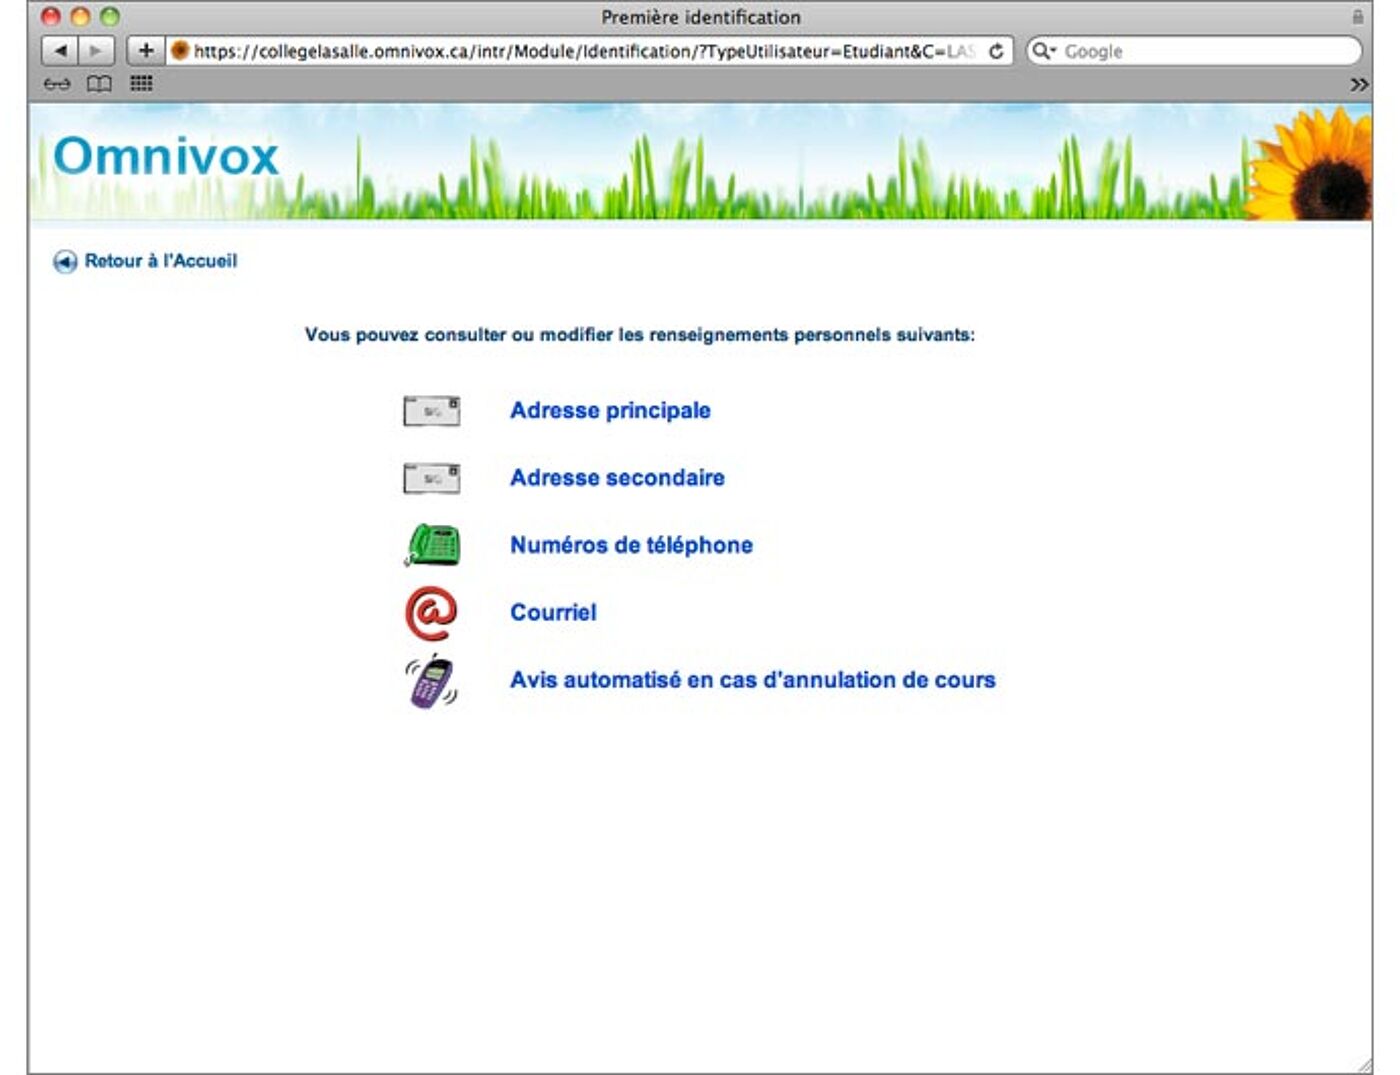
Step 6 : if necessary, update your contact information by clicking on Personal file;

Screenshot of LaSalle College Omnivox portal, highlighting the "Progression chart" link with a red arrow.

Step 7 : an automated notice will appear, click Yes if you want to be notified of any course cancellation due to the absence of one of your teachers (recommended);

Screenshot displaying Omnivox by LaSalle College, prompting to open a document with Adobe Reader.

Step 8 : click on Main address (this address is used by administration to communicate with you);

A screenshot of an educational web portal's personal information section with options to update addresses, phone numbers, email, and receive automated class cancellation notices.

Step 9 : finally, be sure to specify the orientation of your street. For example: 2000, Sainte-Catherine Street WEST.

A screenshot of a web-based form to update the main address, with fields for country, postal code, street number, city, street, apartment, and province, specifically for a Canadian address.